Last spring, we removed an old, cracked, cinder-block wall from our backyard and replaced it with some new vinyl fencing. (demo before and after photos below)
 Once removed, a fairly large flowerbed was revealed and it quickly became my kitchen garden. The planting area was about 24'x6', a total of 146 square ft of garden space. I happily planted tomatoes, carrots, cabbage, spinach, peas, corn, cucumbers, sunflowers, lemon basil, cilantro, radishes, bell peppers and last but not least...pumpkins.
I imagined having pounds and pounds of tomatoes to can, to turn fresh tomatoes into savory sauces, awesome salads and spicy salsas. I imagined a huge bounty of cucumbers, carrots, radishes and cabbage that I could add fresh to every salad and pickle what couldn't be eaten. Sunflowers seeds to roast for my kids and enough seeds to grow sunflower sprouts all winter long for my Sunflower Sprout Salad.
However, the results of this growing season varied considerably from my imagination. For instance, I didn't get a single tomato. A nocturnal critter stripped the bush of every last green tomato one night.
A. Total. Bummer.
I think I actually cried that morning as I assessed the damage. Needless to say, I learned a lot from this first attempt at gardening. I learned that not everything you plant will actually grow. Those that grow, don't always produce fruit. Those that produce, may end up being destroyed by invasive insects, nocturnal animals or fungus. I also learned that organic pesticides are not that effective. :(But, I still use them.
Once removed, a fairly large flowerbed was revealed and it quickly became my kitchen garden. The planting area was about 24'x6', a total of 146 square ft of garden space. I happily planted tomatoes, carrots, cabbage, spinach, peas, corn, cucumbers, sunflowers, lemon basil, cilantro, radishes, bell peppers and last but not least...pumpkins.
I imagined having pounds and pounds of tomatoes to can, to turn fresh tomatoes into savory sauces, awesome salads and spicy salsas. I imagined a huge bounty of cucumbers, carrots, radishes and cabbage that I could add fresh to every salad and pickle what couldn't be eaten. Sunflowers seeds to roast for my kids and enough seeds to grow sunflower sprouts all winter long for my Sunflower Sprout Salad.
However, the results of this growing season varied considerably from my imagination. For instance, I didn't get a single tomato. A nocturnal critter stripped the bush of every last green tomato one night.
A. Total. Bummer.
I think I actually cried that morning as I assessed the damage. Needless to say, I learned a lot from this first attempt at gardening. I learned that not everything you plant will actually grow. Those that grow, don't always produce fruit. Those that produce, may end up being destroyed by invasive insects, nocturnal animals or fungus. I also learned that organic pesticides are not that effective. :(But, I still use them.
Anyway, as some of you might already know if you've read any of my fall blogs, I LOVE PUMPKINS! So you can imagine how super excited I was to actually try my thumb at growing them. So much so, that I'm writing this blog about the experience. I know it's super geeky of me to document this summer event but it was so much fun for me to watch my pumpkin grow. I also learned a ton. Did you know that pumpkins are formed from sexual reproduction? Just like a lot of other plants and trees, pumpkins have male and female flowers that must come together to produce fruit. I know your thoughts are probably in the gutter right now and shame on you!
Kidding aside, my inner science major was alive and well and so fascinated to see the physical differences in these two flowers and watch the progression of this amazing plant. :) If you followed me on Facebook this last summer, you would have remembered my weekly updates on "Punky's" progress. Yes, we named her. I know... again really geeky huh? Anyway, it was super fun for me so here's my gardener's log for PUMPKINS-2013.
Day 1: June 15- Planted pumpkin seeds.
Day 6: June 21- First Day of summer-First Sprouts.
 With 100 days until harvest, I estimate that we will be able to pick our pumpkins on the first day of fall. September 23. :)
Day 14-17- Secondary leaves appear.
With 100 days until harvest, I estimate that we will be able to pick our pumpkins on the first day of fall. September 23. :)
Day 14-17- Secondary leaves appear.
 Day 30- Many leaves and vines form.
Day 42- more vines trail outward from mound.
Day 45- first male flower buds appear.
Day 47- first male flower blooms. Isn't he handsome? Wink!
(No girls have joined the party however! Too bad for this good looking guy.)
Day 30- Many leaves and vines form.
Day 42- more vines trail outward from mound.
Day 45- first male flower buds appear.
Day 47- first male flower blooms. Isn't he handsome? Wink!
(No girls have joined the party however! Too bad for this good looking guy.)
Day 50- First female flower bud appears
at the terminus of growing vines. (Yay!) The females are distinguished by the
bulbous ovary at the base of the flower bud. The male flowers lack the
ovary and appear at each leaf juncture and cluster in groups of two or three.
With the female flower bloom period short, having so many male flowers
in various states of bloom ensures that the female will be pollinated.
That is, as long as there are pollinators (bees, insects) around.
Luckily, my lemon basil plant had gone to flower right next to the pumpkins so the bees were always swarming.
Day 57- The female poised for bloom. ("...my milkshake brings all the boys to the yard..." Hehe!. She's definitely out-numbered at this point) Note how the ovary has grown and the flower bud has elongated and yellowed at the tip.
Day 58- Female blooms. (Cue romantic music)
...Rather than wait for the bees to do their work, I was impatient and cross-pollinated with a male flower to ensure fruit. The most amazing thing happened shortly after pollination. The female flower closed up. A clear biological response that she no longer needed to invite pollination. Amazing!
 |
| Minutes after pollination |
Day 65-(1 week after fertilization)
She has already grown round and a light green in a very short amount of time. She's about the size of a softball here. Just one week after fertilization...Amazing!
Day 72- (2 weeks after fertilization)
Look how huge she's getting! She's a
little larger and rounder than a football here. Her rind has turned a
dark green and mostly everyone thinks she's a watermelon. Because of course, I show off my little girl to all my friends who come over. Even at my son's birthday party, Punky was a star attraction. "You growing watermelon?" :)
However, it looks like she'll be the only pumpkin
coming from this season's pumpkin patch. I've had numerous
other females buds but all have died before reaching bloom. I believe this
was because of a powdery mold that had spread to most of the leaves. I
removed most of the infected leaves in an attempt to prevent
the spread of the mold to our growing girl. Luckily, I still had enough healthy
leaves to keep her ripening to maturity.
Day 79: (3 weeks after fertilization) Just three weeks
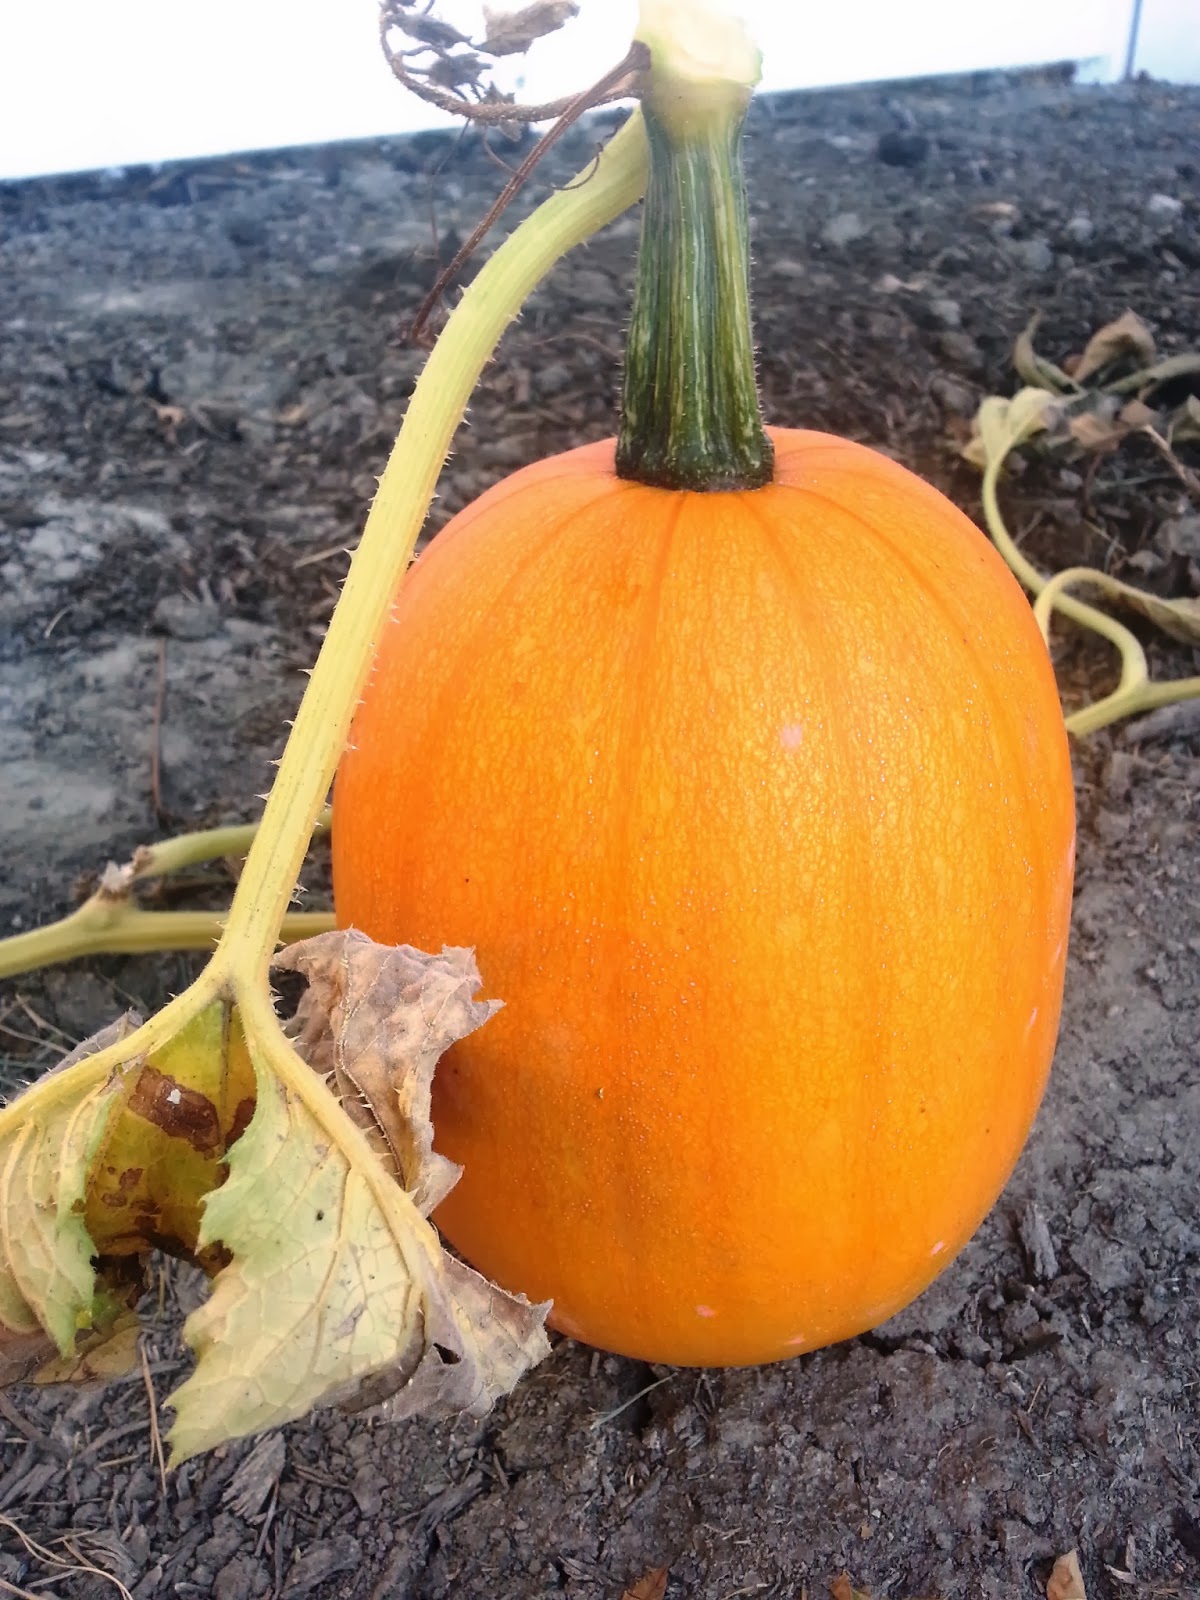
after pollination and she's starting to show her true colors. (No more mistaken identity.)
Day 86: (4 weeks after fertilization) ...just a few more weeks and she'll be ready. Once the leaves start turning brown, she'll be ready to harvest.
It's harvest day...Day 100.
Day 100: Here's Punky after harvest. I put her in the sun for about a week to toughen up her rind and dry out her stem. She's all set for Fall.
Some Pumpkin recipes to try!