Showing posts with label Fall. Show all posts

Wednesday, April 22, 2020

Midnight Jack (Smoky Cheddar Cheese Ball)

Smoky Cheddar Cheeseball for Halloween
My 12 year old son, who doesn't like cheese on anything but pizza, opened the fridge the other day and said, "Mom, why is there nothing but cheese in here?" I started to laugh because he was right, there was a hell of a lot of cheese in there. I'd been working on a few recipe ideas and had to make them a few times to get it right. Also, I'd been online shopping and had a bunch of artisanal cheeses that didn't look like the usual suspects of mozzarella and cheddar. He was not happy. Needless to say, my laughter made him turn and walk out of the kitchen. 😉 


Halloween Fruit and Cheese Plate
'Green' Reaper Platter 
Despite already blogging this gorgeous fruit and cheese plate and a whole refrigerator full of cheese, I was compelled to squeeze in one more cheese dish with these festive and fun Midnight Jacks. I made two variations, a traditional orange and black jack-o-lantern made with sharp cheddar and smoky paprika, and a green and black lack-o-lantern made with Gouda, and Spinach Pesto to match my green and black Halloween theme this year. 

Honestly, I wish I had thought of this Midnight Jack last year when my color theme was orange and black...but oh well, better late than never. The best thing about this easy recipe is that it's so versatile. Create any flavor combination or color combination desired to match your Halloween theme. Here are a few ideas to play around with.

Orange: sharp cheddar with smoked paprika.(recipe below)
Green: green Gouda with spinach and herbs (recipe below)
Purple/Pink:red wine cheese with beet powder or blackberry jam.
Blue: a white cheese with blueberry powder or jam.
Yellow: a white cheese with yellow curry, turmeric and spices
Black with Orange coating: add charcoal powder and garlic to the cheese mixture and roll in finely crushed cheese crackers or Cheetos®

Here's the Spinach and Pesto Cheese version. Didn't he turn out cute? Enjoy!
Spinach Pesto Cheeseball for Halloween

Midnight Jack (Smokey Cheddar Cheese Ball)

Makes ~2 cups
Midnight Jacks

8 oz cream cheese, room temperature
1 clove garlic, grated
2 cups sharp cheddar cheese, grated
1/2 t. smoked paprika
1/2 t. reg. paprika (to intensify color)
1/2 t. dry mustard
1/2 t. ground coriander
1/4 t. white pepper
1-2 t. olive oil
1/4 cup poppy seeds
Vanilla bean pod for stem
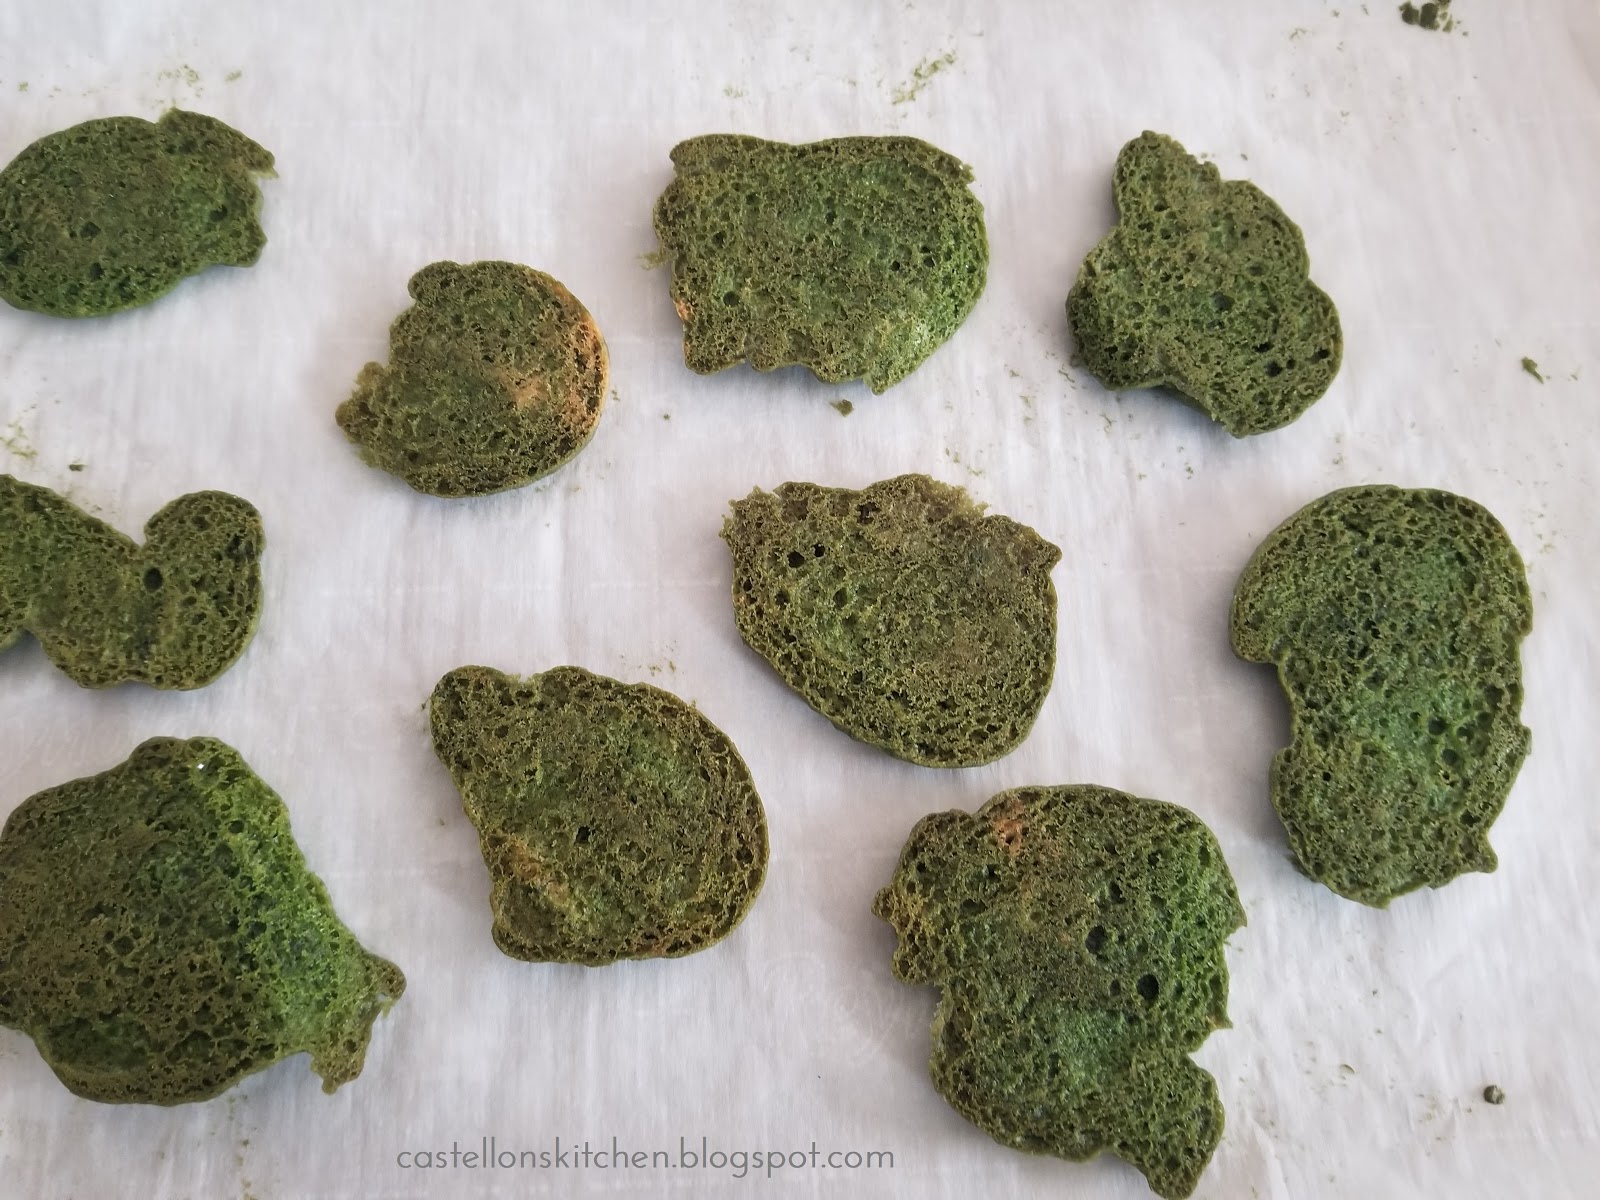
Charcoal Crackers (link

In a food processor, blend cream cheese and grated garlic together until smooth. Add cheddar cheese and blend until smooth. Add remaining ingredients and process adding olive oil if cheese mixture is too dry. Taste and adjust seasonings as needed.  Line a small 4 inch diameter bowl with plastic wrap and spoon in about half of the cheese mixture. Press cheese mixture into bottom of the small bowl making sure to remove gaps and air pockets. Add remaining cheese. Lift plastic wrap over cheese and twist molding a tight ball. Refrigerate overnight.


Cut jack-o-lantern faces out of parchment paper and position parchment paper cut outs onto one side of cheeseball, pressing gently to ensure parchment sticks to cheese. 

Pour poppy seeds into a shallow bowl or plate and roll cheese ball in poppy seeds.


To insure a sharp line of poppy seeds that outline the face of the jack-o-lantern, gently push poppy seeds around the edge of the parchment paper. and into the cheese. After cheese ball is completely covered, use tweezers to slowly remove the parchment to reveal the jack-o-lantern face. 


Add broken vanilla bean to the top of the cheeseball to create a stem for the Jack-o-lantern and serve with crackers.  
Halloween Food- Smoky Cheese


Midnight Jack (Spinach Pesto Cheese Ball): 

Spinach Pesto Cheeseball for Halloween8 oz. cream cheese, room temperature
1 clove garlic, grated
2 cups Green Pesto Gouda (link)/Sage Derby Cheese (link)
1/4 cup basil leaves
1/4 cup fresh spinach (add more to enhance color)
1/4 t. white pepper
1 T olive oil
1/4 cup poppy seeds
bell pepper stem 
Charcoal Crackers (link

In a food processor, blend cream cheese and grated garlic together until smooth. Add gouda and derby cheeses and blend until smooth. Add remaining ingredients and process adding olive oil if cheese mixture is too dry. Taste and adjust seasonings as needed.  Line a small 4 inch diameter bowl with plastic wrap and spoon in about half of the cheese mixture. Press cheese mixture into bottom of the small bowl making sure to remove gaps and air pockets. Add remaining cheese. Lift plastic wrap over cheese and twist molding a tight ball. Refrigerate overnight. 

Cut jack-o-lantern faces out of parchment paper and position onto side of cheese ball, pressing gently to ensure parchment sticks to cheese. Pour poppy seeds into a shallow bowl or plate and roll cheese ball in poppy seeds. To insure a sharp line of poppy seeds that outline the face of the jack-o-lantern, gently push poppy seeds around the edge of the parchment paper. After cheese ball is completely covered, use tweezers to slowly remove the parchment to reveal the jack-o-lantern face. Add bell pepper stem to the top of the cheeseball to create a stem for the Jack-o-lantern and serve with crackers.

More Halloween Recipes to try:
Halloween Food
Bloody Eyeball Bruschetta
Jack-o-lantern Cupcakes
Halloween Food Deviled Eggs
Spiderweb Eggs

Wednesday, March 18, 2020

'Let Nature Run Its Corpse' Cakes

Halloween Cupcakes

After missing all of last year's "Summer of Halloween" because of a health issue, I'm starting extra early this year on my Halloween recipes and decorating ideas.  I realize it's only March, but some of my Halloween ideas have been inspired by other holidays. For instance, my Haunted Hamlet was inspired by Mini Christmas Villages, my Halloween Topiaries were created by transforming Christmas Angels, and My Bloody Valentine Cake inspired by... of course Valentine's day.  These festive cupcakes that I like to call, Let Nature Run Its Corpse Cakes were inspired by all the mossy Spring/Easter pins all over Pinterest right now. Seeing all the bunnies and eggs cushioned in baskets of moss, I took it another direction all together...instead I went with aged skull and crossbones put to rest in shallow mossy graves. ☠ I think they're absolutely perfect for Halloween, don't you? 
Halloween cupcakes

The faux moss looks so realistic that it's hard to believe that these cupcakes are edible. Creating the faux moss-look was super simple. I added a few drops of moss colored food coloring to ready made sugar cookie dough and baked as usual. Crumble half of the cookies and sprinkle the underside of the whole cookies with the cookie crumbs to give you faux moss covered cookies. I topped them with aged white chocolate skulls and crossbones that I made with mini molds purchased from Etsy. I've included the links below.  

These little gems are the perfect recipe to kick off my Organic Halloween theme this year. All my Halloween food and decorating ideas will center around all things green, black with natural organic elements like moss and ferns, twigs and wood. It's going to be so much fun...Stay tuned for more Halloween ideas coming all spring and summer long. 

Let Nature Run Its Corpse Cakes 

Makes 24 cupcakes

Make ahead:
Chocolate Skull and Bones
1 package melting white chocolate 
1/2 t. cocoa powder 
1 T vodka
Mini Skull mold by StaceyDecor 
Mini Bone mold by Moldcreationsnmore 

Melt chocolate according to package directions and transfer into a piping bag or a plastic ziplock bag with the corner cut off.  Pipe melted chocolate into molds and tap the bottom of the molds on counter to settle chocolate and remove air bubbles and empty space.  Place filled molds in the refrigerator and let set for 15 minutes or longer as needed. Remove skull and bones from the molds and set aside. Don't worry if the small crossbones break, they can still be used with the skulls. Repeat until you have 24 skulls and 48 bones.
Aging bonesIn a small bowl, add 1 tsp. cocoa and 1T vodka and mix until combined. Use a paint brush to paint the chocolate skulls and bones with the cocoa vodka mixture to age the bones. The vodka will evaporate and leave the cocoa behind creating an aged look of the bones. Set aside until ready to use. 


Mossy Cupcakes 
1 box chocolate cake mix
1 can prepared vanilla frosting
1 tube prepared sugar cookie dough, room temperature
moss green gel food coloring
black cupcake liners

Cupcakes: Prepare cupcakes according to package directions. Cool completely.
Frosting: Combine ~1/4 tsp. of moss green gel food coloring to vanilla frosting and mix well. Set aside.
Cookies: Place prepared cookie dough in a medium bowl and add about 1/2 tsp. moss green gel food coloring and mix until well combined. 


Scoop about 1 tsp of cookie dough onto a parchment lined cookie sheet. Use a fork or a butter knife to press dough flat into irregular shapes. 


Bake for 10 minutes at 350 degrees. Cookies will have slightly brown bottom which is what you want to add depth of color to your mossy cookies.  Cool cookies and set aside 30 small cookies to top your cupcakes with. Crumble the remaining cookies or the larger cookies into a medium bowl and set aside. This will be used to top your cupcake frosting and to add mossy texture to the sugar cookie topper. 

Assemble: Frost cupcakes and dip frosting side down into crumbled cookies to create the mossy top of the cupcake. Next, lightly frost the bottom side of a sugar cookie. Now place a small dollop of frosting on the other side of the cookie to act as a glue to hold the cookie to the top of the cupcake. Now sprinkle crumbs over the slightly frosted cookie bottom to complete the mossy look. 


Garnish: Top with skull and crossbones secure with a small dab of frosting. 

More Halloween Dessert Ideas:

Jack-o-lantern Cupcakes
Bad Moon Rising Cheesecake
My Bloody Valentine
Haunted House Cake Topper

Tuesday, January 7, 2020

Apple Cinnamon Donut Cakes


Happy New Year! It's a new year and another opportunity to make a fresh start. I don't usually make resolutions, rather I use the new year to set some intentions and put together my to do list for the year. Number one on my list this year will be to dive back into blogging. I took a little bit of a break from blogging in 2019 as you might have noticed. I spent the year reassessing, refocusing and recovering from 3 surgeries after an abnormal mammogram last May. I'm all recovered and ready to jump back into my creative space of food and fun Halloween ideas and projects. But before I get ahead of myself and dive right into Halloween, I have a 'better late than never' recipe to share. I made them before Christmas and never got around to posting them. So these Apple Cinnamon Donut Cakes are my first post of 2020. A delicious cinnamon sugar coated, 3 bite morsel of apple cinnamon cake! Make a batch. Invite your girlfriends over for coffee, cake and conversation to kick off the new year! Enjoy!

Apple Cinnamon Donut Cakes

Makes ~2 dozen

3 cups all purpose flour
1 1/2 t. baking powder
1/2 t. baking soda
1 T. cinnamon
1 t. nutmeg
1/4 t. cardamom
1 t. salt
1 cup brown sugar, packed
1/2 cup granulated sugar
1 cup apple cider
1 cup applesauce
3/4 cup olive oil or canola oil
3 t. vanilla extract
3 eggs
1/2 cup butter melted
1 cup granulated sugar
2 t. cinnamon
1/2 t. nutmeg

Preheat oven to 350 degrees

In a large bowl, combine flour, baking powder, baking soda, cinnamon, nutmeg, cardamom, and salt. Set aside. 
In a medium bowl, combine sugars, apple cider, applesauce, olive oil, vanilla extract, and eggs and whisk until mixed. Combine wet and dry ingredients and whisk until incorporated. Spray mini bundt cake pan with baking spray. Using a medium cookie scoop, fill mini bundt cakes half full, taking care not to overfill. Bake at 350 degrees for about 10-12 minutes. Let cool 10 minutes and then turn out of pan. Cool completely on a wire rack.  
Prepare cinnamon sugar. Combine sugar, cinnamon and nutmeg in a small bowl and mix. In a small bowl, melt butter in the microwave. 
Brush donut cakes with melted butter and then roll them in cinnamon sugar until completely coated. Serve. Store covered at room temperature for up to 2 days.
Other dessert recipes to try:

Red Velvet Brownies with Cookie Crumble Frosting
Gingerbread Spritz Cookies
Gingerbread Petits Fours with Cinnamon Buttercream

Thursday, November 21, 2019

Lemon Ginger Sweet Potatoes

Full disclosure... I am not a fan of Thanksgiving yams/sweet potatoes or any of the marshmallow coated casseroles that are so popular this time of year. But last year, I had a sweet potato dish made by my friend, Carina. They were sweet but not overly sweet. They had a hint of citrus, which I thought was orange, but she used lemon, not orange. They were so subtle and sweet and just down right delicious and a nice complement to all the creamy gravy laden dishes of Thanksgiving yummy-ness.  I've been wanting to make a version of her sweet potatoes since last year and that time is finally here. I used her basic recipe of sweet potatoes baked in a brown sugar syrup with lemon slices topping them. I added some ginger, garlic and herbs to complement the lemon and the sweetness of the potatoes and it turned out amazing. Thank you Carina for the inspiration with your delicious recipe. 
                                         ðŸ¦ƒHappy Thanksgiving!🦃

Lemon Ginger Sweet Potatoes

Serves 6-8

1.5-2 lbs. sweet potatoes or yams with similar diameter(about 2 lbs)
2-3 lemons, sliced into 1/4" slices
salt, pepper and cayenne pepper (to taste)
Simple brown sugar syrup(see recipe below)
Compound butter(see recipe below)

Prepare Simple Syrup
2/3 cup brown sugar
1/2 cup water
2-3 slices of fresh peeled ginger
lemon peel of one lemon

Add sugar, water, ginger and lemon peel into a small saucepan. Heat over medium heat, until sugar is completely dissolved. Turn heat down and let simmer for 10 minutes. Do not strain lemon or ginger from the syrup, leaving it in intensifies the flavors. Let syrup cool and place an air tight container . Refrigerate until ready to use. Can be made up to 3-5 days in advance.  

Prepare Compound Butter
1/2 cup salted butter, softened
3-4 cloves garlic, finely minced
1 T fresh oregano, finely chopped
3 T fresh Italian parsley, finely chopped

Combine all ingredients and refrigerate until ready to use. Can be made up to 3-5 days in advance.

Prepare Potatoes

Preheat oven to 350 degrees.

Slice fresh lemon into 1/4" slices, removing seeds from slices and set aside. Peel sweet potatoes and slice into 1/4" rounds and add to a large mixing bowl. Generously salt and pepper sweet potatoes. Add cayenne pepper to taste. Note: A quick sprinkle of cayenne elevates the lemon and ginger without much heat. 
Add simple syrup to the sliced sweet potatoes and mix until well coated. 

Spray 9"x 13" casserole dish with cooking spray. Begin stacking sliced potatoes like poker chips into casserole dish, alternating with an occasional fresh lemon slice. 
Remove lemon and ginger slices from the remaining simple syrup in the mixing bowl. Pour 1/2 cup of simple syrup over sweet potatoes.

Top with the compound butter, cover with foil and bake at 350 degrees for 1 hour. At 30 minutes, remove foil and bake an another 30-40 minutes. Check, adding more time if needed. Let cool for about 10-15 minutes and serve. 

More Thanksgiving Side dishes:
Parmesan Creamed Onions
Corn and Squash Casserole
Chilaquiles Corn Bread Stuffing