Showing posts with label Melting White Chocolate. Show all posts

Wednesday, March 18, 2020

'Let Nature Run Its Corpse' Cakes

Halloween Cupcakes

After missing all of last year's "Summer of Halloween" because of a health issue, I'm starting extra early this year on my Halloween recipes and decorating ideas.  I realize it's only March, but some of my Halloween ideas have been inspired by other holidays. For instance, my Haunted Hamlet was inspired by Mini Christmas Villages, my Halloween Topiaries were created by transforming Christmas Angels, and My Bloody Valentine Cake inspired by... of course Valentine's day.  These festive cupcakes that I like to call, Let Nature Run Its Corpse Cakes were inspired by all the mossy Spring/Easter pins all over Pinterest right now. Seeing all the bunnies and eggs cushioned in baskets of moss, I took it another direction all together...instead I went with aged skull and crossbones put to rest in shallow mossy graves. ☠ I think they're absolutely perfect for Halloween, don't you? 
Halloween cupcakes

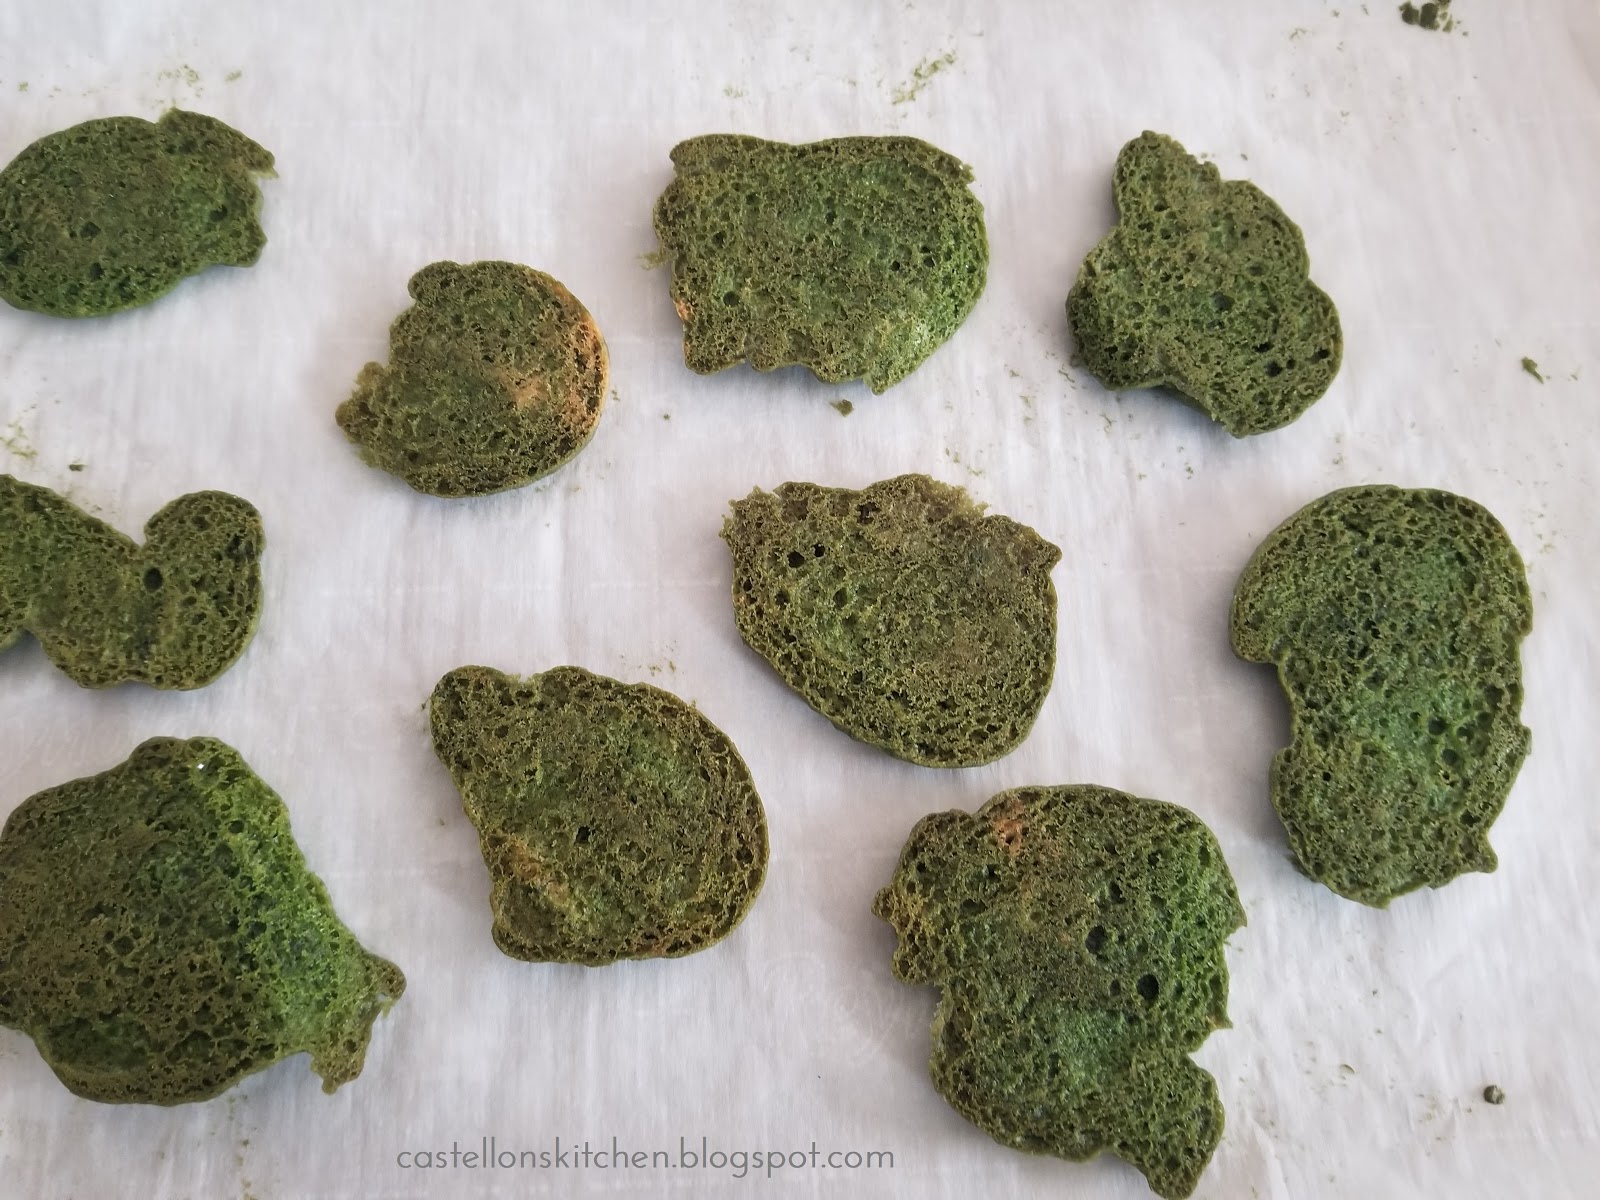
The faux moss looks so realistic that it's hard to believe that these cupcakes are edible. Creating the faux moss-look was super simple. I added a few drops of moss colored food coloring to ready made sugar cookie dough and baked as usual. Crumble half of the cookies and sprinkle the underside of the whole cookies with the cookie crumbs to give you faux moss covered cookies. I topped them with aged white chocolate skulls and crossbones that I made with mini molds purchased from Etsy. I've included the links below.  

These little gems are the perfect recipe to kick off my Organic Halloween theme this year. All my Halloween food and decorating ideas will center around all things green, black with natural organic elements like moss and ferns, twigs and wood. It's going to be so much fun...Stay tuned for more Halloween ideas coming all spring and summer long. 

Let Nature Run Its Corpse Cakes 

Makes 24 cupcakes

Make ahead:
Chocolate Skull and Bones
1 package melting white chocolate 
1/2 t. cocoa powder 
1 T vodka
Mini Skull mold by StaceyDecor 
Mini Bone mold by Moldcreationsnmore 

Melt chocolate according to package directions and transfer into a piping bag or a plastic ziplock bag with the corner cut off.  Pipe melted chocolate into molds and tap the bottom of the molds on counter to settle chocolate and remove air bubbles and empty space.  Place filled molds in the refrigerator and let set for 15 minutes or longer as needed. Remove skull and bones from the molds and set aside. Don't worry if the small crossbones break, they can still be used with the skulls. Repeat until you have 24 skulls and 48 bones.
Aging bones: In a small bowl, add 1 tsp. cocoa and 1T vodka and mix until combined. Use a paint brush to paint the chocolate skulls and bones with the cocoa vodka mixture to age the bones. The vodka will evaporate and leave the cocoa behind creating an aged look of the bones. Set aside until ready to use. 


Mossy Cupcakes 
1 box chocolate cake mix
1 can prepared vanilla frosting
1 tube prepared sugar cookie dough, room temperature
moss green gel food coloring
black cupcake liners

Cupcakes: Prepare cupcakes according to package directions. Cool completely.
Frosting: Combine ~1/4 tsp. of moss green gel food coloring to vanilla frosting and mix well. Set aside.
Cookies: Place prepared cookie dough in a medium bowl and add about 1/2 tsp. moss green gel food coloring and mix until well combined. 


Scoop about 1 tsp of cookie dough onto a parchment lined cookie sheet. Use a fork or a butter knife to press dough flat into irregular shapes. 


Bake for 10 minutes at 350 degrees. Cookies will have slightly brown bottom which is what you want to add depth of color to your mossy cookies.  Cool cookies and set aside 30 small cookies to top your cupcakes with. Crumble the remaining cookies or the larger cookies into a medium bowl and set aside. This will be used to top your cupcake frosting and to add mossy texture to the sugar cookie topper. 

Assemble: Frost cupcakes and dip frosting side down into crumbled cookies to create the mossy top of the cupcake. Next, lightly frost the bottom side of a sugar cookie. Now place a small dollop of frosting on the other side of the cookie to act as a glue to hold the cookie to the top of the cupcake. Now sprinkle crumbs over the slightly frosted cookie bottom to complete the mossy look. 


Garnish: Top with skull and crossbones secure with a small dab of frosting. 

More Halloween Dessert Ideas:

Jack-o-lantern Cupcakes
Bad Moon Rising Cheesecake
My Bloody Valentine
Haunted House Cake Topper

Wednesday, June 28, 2017

Skull and Crossbones Cookies


Each year brings new challenges and sometimes the same challenges. For me, those challenges are with melting chocolate. I do this to myself each year with my Halloween blogs...I attempt to make something with melting chocolate. Ugh! My last few attempts using this confection were very challenging to say the least. I began to score my efforts with melting chocolate after I had a little success and last time I checked in, the score was Melting Chocolate 2, Castellon's Kitchen 1. But I think I've just tied the game against melting chocolate on this one. These skull and crossbone cookies turned out super duper cute and believe it or not, they look pretty much like I envisioned in my head, which is success in my book. Usually, my ideas in my head become a compromised version of what I imagined.  

So even though I've tied the game with melting chocolate, I must admit that I went in for reinforcements and bought a melting chocolate warmer from Michael's. See? It's not cheating. It's getting a first round draft pick to assist. I was losing this fight with chocolate and I had to find a way to enjoy using these sweet little buggers. I needed help, don't judge me.😁
It's fantastic if you ask me! It melted the chocolate just perfectly and then kept it warm so it stayed easy to work with. Plus it cleaned up easily because the warming pot is silicone. After use, cool the chocolate and then break it apart and either toss it or store in a plastic bag for reuse. I think I'm going to win this battle against the Melts afterall! 

Final score:     Castellon's Kitchen- 2 (Double Yay!)             Melting Chocolate- 2


Skull and Crossbones Cookies

Makes 2 dozen

2 bags white melting chocolate
24 Snack Factory® Pretzel Crisps®
48 Pretzel sticks
96 mini marshallows
2 T vegetable shortening (as needed)

Melt chocolate according to package directions. adding 1-2 T of vegetable shortening to thin out melting chocolate, if needed.

Use a fork to lower a pretzel crisp into chocolate to coat and tap fork against the side of the bowl to remove excess chocolate. Place chocolate covered pretzel on a parchment paper covered cookie sheet. Repeat with all pretzels. 


Stick mini marshmallows on each end of the stick pretzels and then coat with chocolate. Place the second crossbone over the first one while the chocolate is still wet so that it will set as an "X" just under the skull. 

Smear some chocolate on parchment paper and when it's almost set, use a sharp knife to cut 'teeth" for the skulls. 

Let set and then break up the teeth and place teeth onto skull pretzel using the tip of the knife or tweezers. Avoid using your fingers as the chocolate will melt. If you don't want to go to the extra work of placing the teeth, use the tines of a fork to make an impression in the chocolate when almost set. Place cookies in the refrigerator for 10-20 minutes to completely cool the chocolate and then Enjoy! 

Happy Halloween!


Other Halloween desserts to try:


Zombie Pretzel Cookies
Black Magic Spell Cakes
Black Velvet Creme Cakes

Thursday, July 17, 2014

Black Velvet Creme Cakes

I really wanted to call these little beauties, Black Velvet Ding Dongs. But since that name was taken...Creme Cakes they became. My goal was to Halloween-ify the Creme Cake.  I'd hoped to enrobe the whole cake with three different colored chocolate coatings with each cake filled with a contrasting colored frosting center. Imagine...a lime green Ding Dong..oops, Creme Cake, with brilliant purple filling next to the deep Black Velvet Chocolate Cake. An orange Creme Cake with bright green filling and a white Creme Cake with blood red filling...you get the picture. At least that's what I was going for originally, but Candy Melts had other plans for me. 


Candy Melts were very tricky to use and created tears of frustration. However, I must say it was user error. My first mistake was thinking I could enrobe the Creme Cakes with them. You can't. The white chocolate in melting chocolate is too thick, even with addition of shortening or oil. It will not pour out into a beautiful curtain of colored white chocolate like regular chocolate does. (At least I couldn't get it to that consistency) And, if you try to heat it higher to get it more liquid, it will do the opposite and seize up on you and turn into a globby thick mess. It took me three tries to figure this out and after the third failed attempt at melting these buggers, I realized I needed help!

I hit up the Internet. I read all kinds of to do's and what not to do's but the single most important advice I read, and what worked for me (by accident) was...MELTING CAN NOT BE RUSHED. Take your time and it wouldn't hurt to buy an extra bag as your practice round.

Here are some things I learned when melting white chocolate:

-New melting chocolate melts better than older candy melts. Yes, this is absolutely true.  I had some left over from last Halloween and they did not melt very well at all. I ended up tossing the whole lot out.

-Use rectangular flat trays for melting white chocolate. Melting candy melts in rectangular plastic trays helped melt them more evenly. I used my three breading trays, I got from Pampered Chef.  I'd been heating them up in the microwave, in bowls, and heating was uneven. I got hot spots which seized up the chocolate.

-Heat the chocolate for only the recommended time at half power. One minute for the initial heating, and two more 30 second intervals. That it! Stir well and let it sit between all heatings. If you absolutely need to add more time, add it in 10 second intervals and stir well and let sit before adding any more time.

-Stirring is critical. Stir well after the first one minute heating. Stir well between the next two 30 second intervals. Stir a lot. Don't worry about rushing it back into the microwave thinking it is cooling down and will harden up again. No, the truth is, once these begin to melt, they stay melted for a long while. In fact, this leads me to my next lesson learned. 

-Let the chocolate sit. After the third seize up of my chocolate and trying to save it with adding shortening, I hopped on the Internet and did my investigating. I left the thick mess sitting there on the counter. After 10 minutes of education, I went back over to the chocolate mess I'd abandoned...and what do you know? The chocolate had in fact thinned out. Letting the chocolate sit and continue to melt and cool, did the trick. See...MELTING CANNOT BE RUSHED.

Anyway, like all mistakes, you learn something from them and then usually it leads you into new beautiful territory called, Plan B.  

Plan B was to use the candy melts I had left without having to run up to Michael's again. In this case, I had Black and white remaining. Instead of coating each of these cakes, I decided to coat the bottom and top of them, and it was just enough. The candy coating really gives you the texture reminiscent of those foil wrapped desserts we grew up with. All in all, the effort was so worth it because I learned a lot and most importantly they turned out beautiful and delicious!

Black Velvet Creme Cakes
Makes 30 creme cakes

1 box of Devil's Food cake mix
1 T unsweetened cocoa powder
gel food coloring in (black and colors of your choice)
1 container of prepared Vanilla frosting
1 bag each of Candy Melts in Black and White
Halloween Sprinkles (optional)

Preheat oven to 350 degrees.
Prepare cake mix according to package directions. Add 1/2 t black gel food coloring and 1 T of unsweetened cocoa powder. Stir well. Generously spray cupcake pan with non-stick cooking spray. Using a medium cookie scoop, fill cupcake pan with one scoopful (about 2 T) of cake mix. Cupcake batter will only fill the bottom 1/4 of the pan. You want the cakes to be small. Bake at 350 degrees for 8 minutes. Cool completely on wire racks.
 While the cupcakes are cooling, prepare your different colored creme fillings. Add gel food coloring until desired color is reached. Put frosting into piping bags with a piping tip. I only had a star tip and it worked just fine.


 On the underside of the cupcake, pipe a small amount of frosting into the middle of the cupcake. Take care not to pipe to quickly or your frosting will blow out the other side of the cupcake. Set aside while you prepare your candy melting chocolate.


Melt white chocolate according to package instructions and be mindful of the lessons learned listed above. Using a knife, remove excess piped frosting from the bottom of the cupcake before you dip them into chocolate. You'll want to seal the bottom of the cakes first so you don't lose your creme filling. Dip carefully and then place on a parchment paper lined cookie sheet to allow for chocolate to set.


Prepare your black candy melting chocolate. Dip the tops of each cake, slightly twisting them as you remove them from the chocolate. You will need to use the back of a spoon to smooth over some spots.
Sprinkle with Halloween sprinkles (optional) and allow for chocolate to set. (I added the sprinkles after the chocolate had set, by using my hair dryer to slightly melt the tops of the cupcakes and then sprinkled them on.) Pour yourself a tall glass of milk and Enjoy!


Other Halloween Desserts to try:
Candy Corn Sugar Cookies                             Candy Corn Peppermint Patties