Tuesday, January 29, 2013

Crockpot Pork Verde


Here is one of my all-time favorite crockpot recipes. It's super easy with only 3 ingredients and it's super delicious. I make this at least once a month, no matter what the season because it's so versatile. I usually serve it over rice but I've made Pork Verde Enchiladas, Tostadas, and Chili with it too. (I'll post these recipes in future blogs) The recipe calls for salsa but the finished dish is not spicy and very kid-friendly. My picky kids love this dish. They say, "This is good chicken Mama." To my kids all meat is chicken, even when we have steak my kids will say, "I like the chicken." I don't correct them, it's not worth the risk of them not eating it because it's called something unfamilar. :)
The sour cream added at the end really mellows any heat from the added salsa and makes the yummy sour cream sauce. I like it best with rice because you can put extra sour cream sauce over the rice and just eat that. Hope you enjoy it! 
 
Crockpot Pork Verde
Serves 6
  • 2-3 lbs pork roast (I use any type of pork roast except tenderloin)
  • 16 oz. bottle of salsa verde (mild or medium) 
  • 1/2 cup sour cream
Place pork roast in Crockpot. (You can put it in frozen right from the freezer, but add a little extra cooking time if frozen), pour bottle of salsa verde over roast. Cook on High for 4-6 hrs or Low for 6-8 hrs. Shred pork with forks in crockpot. Turn off crockpot and add sour cream and mix together. Serve over rice.

 Super simple and delicious.


Sunday, January 27, 2013

Simple Savory Couscous


Here's a delicious side dish you can to add to your rotation of rice, pasta and potato side dishes when planning meals. It's great tasting, fast and super easy. It's great with grilled chicken, beef and fish. I also like it for breakfast the next day with feta cheese sprinkled on it. Yum! For this particular recipe, I used the Harvest Grains Blend from Trader Joe's. It contains a medley of Israeli-style couscous, orzo pasta, baby garbanzo beans and red quinoa.


I personally love the texture of this blend but if you want a more kid- and husband-friendly version you can use plain Israeli Couscous. Using this medley or Israeli Couscous are equally delicious, however if it's texture you want, the Harvest Grains will not disappoint.
Here's my adaptation of a recipe I found on the box of plain Israeli Couscous from Trader Joe's. What intially inspired me about the recipe was the use of cinnamon. I'd never used cinnamon in a savory dish before, so I used the recipe as my guide and adapted it to my families taste. I used just plain couscous so it wouldn't scare my kids away. I also removed some recipe items I knew would freak my kids out of wanting to try it. When I put this new side dish on the table, I called it "round rice" and they ate it happily, none the wiser. The cinnamon added a distinct but subtle flavor to the dish. But be warned, I made this once and wasn't as careful about how much cinnamon I used and it took over the dish. So remember, a little goes a long way when using ground cinnamon in this recipe. Hope you enjoy it.


Simple Savory Couscous
Serves 4
  • 2 T butter, unsalted
  • 1 small onion, finely chopped
  • 1 clove garlic, minced
  • 1 1/2 cups Israeli-style couscous (or Harvest Grains Blend as I used here)
  • ~1/4 tsp of ground cinnamon (use about half of 1/4 tsp)
  • 2 small bay leaves
  • 1 3/4 cups chicken broth (1- 14.5 oz can)
  • 1/2 tsp sea salt
  • 1/4 tsp pepper
  • 1/4 cup parsley, minced
Melt butter in saucepan over medium high heat and add onion and garlic and cook until soft.(~5min) Add couscous, cinnamon and bay leaves and stir often until couscous is lightly toasted (~4 minutes.) Note: Heating the cinnamon in this step enhances the flavor throughout the dish, which is why a little goes a long way) Add chicken broth, salt and pepper and bring to a boil. Reduce heat, cover and simmer for about 10-15 minutes or until liquid is absorbed and couscous is cooked.  Remove from heat, remove bay leaves and toss with fresh parsley and serve.


Thursday, January 24, 2013

Paint Chip Bookmarks


I made these really cute, 'Tree for all Seasons' bookmarks yesterday and had to share them. I was inspired to make these after I saw the Paint Chip Valentine's bookmarks on Pinterest from the blog oldtownhome.com.  


I thought the Valentine's bookmarks would be great for my son's 2nd grade class. Pink paint chips with hearts for the girls, and I decided I'd make a blue bookmark with stars for the boys. (See above picture, I think they turned out way cute) 
While putting the Valentine project together I thought, I should make a cute bookmark for me too. Duh? I LOVE to read and I read a lot! You'd think I'd have a stash of bookmarks. No, I'm always looking for something to mark my page, grabbing an envelope, paper towel or junk mail. As I thought of what kind of bookmark I wanted, I thought of trees. I LOVE, LOVE, LOVE trees! So, I rummaged through my scrapbooking supplies and this is what I came up with. I hope you enjoy these 'Tree for all Seasons' bookmarks using paint chips, I had so much fun making them.

Step by Step:
Pick from your stash of paint chips, or pick some up from your local home improvement store.  
Assemble your equipment. (I had these punches from scrapbooking. Note:I ended up not using some of these because they didn't punch cleanly, they were old and I ended up purchasing a butterfly punch.)

Punch out tree and other elements and assemble tree scene on paint chip. (Halloween is demonstrated but we will switch to others as we move through the step by step.)


 Glue tree scene to paint chip.(I used a glue stick) Trim bookmark to 2 inches with trimmer.

Round corners with a corner punch.

Glue 2 inch paint chip to a sheet of white cardstock. Trim each bookmark and round corners with corner punch.


Glue white framed paint chip to contrasting cardstock paper, trim and round corners with corner punch.


Now we are ready to laminate these little guys. I purchased some self stick laminate from my local office supply store. It was about $10 for 10 sheets, kind of expensive considering this whole project was free for me until now, with the exception of the butterfly punch, it was $3. Apply the first and second layers according to product directions. (I used 5 sheets for 10 bookmarks)


Cut and trim each bookmark. Punch hole in top part of bookmark to insert ribbon.


 Cut ribbon to approximately 8 inches.

Fold 8 inch ribbon in half and insert looped portion of ribbon through hole from the back of book mark.

This is where it's tricky since I had no extra hands to take the picture, but basically you thread the tails of the ribbon, from the back, forward through the loop in the front and you pull tight.
And you're done!  Now you're ready to read a book! :)

Here are some individual pictures of the 4 seasons plus Halloween. I made this particular batch for my girlfriend and her daughter that's why I made two different kinds of Fall and Halloween bookmarks.

Fall, two ways.
Halloween, two ways.
Winter, Spring and Summer


Tuesday, January 22, 2013

Nappa Cabbage Salad with Ginger Garlic Dressing


Today, I was in the mood for salad, and I LOVE salad. I love all kinds of salads because to me salad is comfort food. I know, most people think salad is the farthest thing from comfort food, but just think of it...Hellooo? You can add bacon and cheese to salad. You can add nuts, croutons, wontons, chow mein noodles, cheese or beans, rice, wheat berries, corn, peas, eggs, did I say cheese?... broccoli, fruit, olives, pasta, flax seeds or even more cheese? Believe me, I can calorie-load a salad that rivals the Big Mac...what part of that isn't comfort food? And then, as if that isn't enough you coat the whole thing in a delicious dressing.  Let's be honest...the dressing is the best part, especially when you get to the bottom of the salad and have all the small bite-sized toppings swimming in deliciousness...yum! 


Okay...back to reality. I also realize salads don't need to be calorically extreme to be comforting because I also like simple salads that just highlight the vegetables. I love veggies. My Nappa Cabbage Salad is very simple and light and showcased by a delicious Ginger Garlic Dressing.  I meant this to be a starter salad at the beginning of a meal, but you can easily make it a filling lunch or a light dinner by adding chicken, beef, fish or tofu.
The salad dressing came about a few months back while I experimented with Trader Joe's Blue Agave Sweetner. It's sweet like honey, but has an incredible depth of flavor. Don't worry, if you don't have agave sweetner on hand, you can substitute it with honey, but if you happen to pick some up you will taste the difference in the salad dressing.


Ginger Garlic Dressing
  • 1/3 c rice vinegar
  • 1/3 c canola oil
  • 1/4 c agave sweetner (or substitute with honey)
  • 1 tsp sesame oil
  • 2 T ginger, fresh, grated*
  • 2 cloves garlic, finely minced
  • salt and pepper (to taste)
Combine all ingredients in a air-tight container with lid. Refrigerate for about 30 minutes. Shake well before serving. Store in refrigerator for up to a week.

*Freezing ginger root makes it a snap to grate for recipes.


Nappa Cabbage Salad

  • 1 large head nappa cabbage
  • 1 1/2 cup carrots, shredded
  • 1 bunch green onions, chopped
  • 1 cup cilantro, chopped
  • 1 cup slivered almonds, toasted
  • 1 cup chow mein noodles
Cut about 2 inches from base of cabbage, separate leaves, rinse and spin in salad spinner to remove water from leaves.

Stack leaves and cut in half lengthwise.
 Then stack halves and rotate to thinly slice leaves.

Add carrots, green onions, cilantro, almonds and chow mein noodles and toss with Ginger Garlic Dressing or if you prefer, have salad dressing on the side (as pictured below).

Enjoy!


Friday, January 18, 2013

Lemon Brownies

Lemon Brownies
Just last week, I was making Spicy Asian Meatball Soup and complaining about how cold it was here is Southern California, and then fast forward to today...Surprise! It was 80 degrees here today, and it's forcasted to be the same throughout the weekend. Yay! All this feel good warm weather has me thinking about Spring and Summer and has inspired me to make something to celebrate how incredibly beautiful it was here today in sunny, warm Southern California!  Don't get me wrong, I'm not gloating, I'm just thankful for the repreive of our version of a really cold winter and for this brief reminder of warm days to come.
I found this recipe for Lemon Brownies on Pinterest from a blog called, BeckyCharms, original recipe from Rita May's Recipes. I had planned to make them when the weather warmed up, maybe in Spring for Easter brunch or in Summer for a picnic or potluck...but who needs to wait? That time was today! These brownies were a breeze to make and were so lemony, buttery and densely rich...mmm...they were just pure decadence. I hope you're inspired to make these yummy little bites even in the dead of winter or keep them in mind as you look forward to Spring. 

Here's the step by step, full recipe at bottom of blog.

Assemble the ingredients:


Preheat oven to 350°F. I used a 6x6 inch baking dish and sprayed with cooking spray: set aside. Zest and juice two lemons; set aside. (I failed to take a picture of this step, I had to run to pick up my son from school and just plain forgot.)

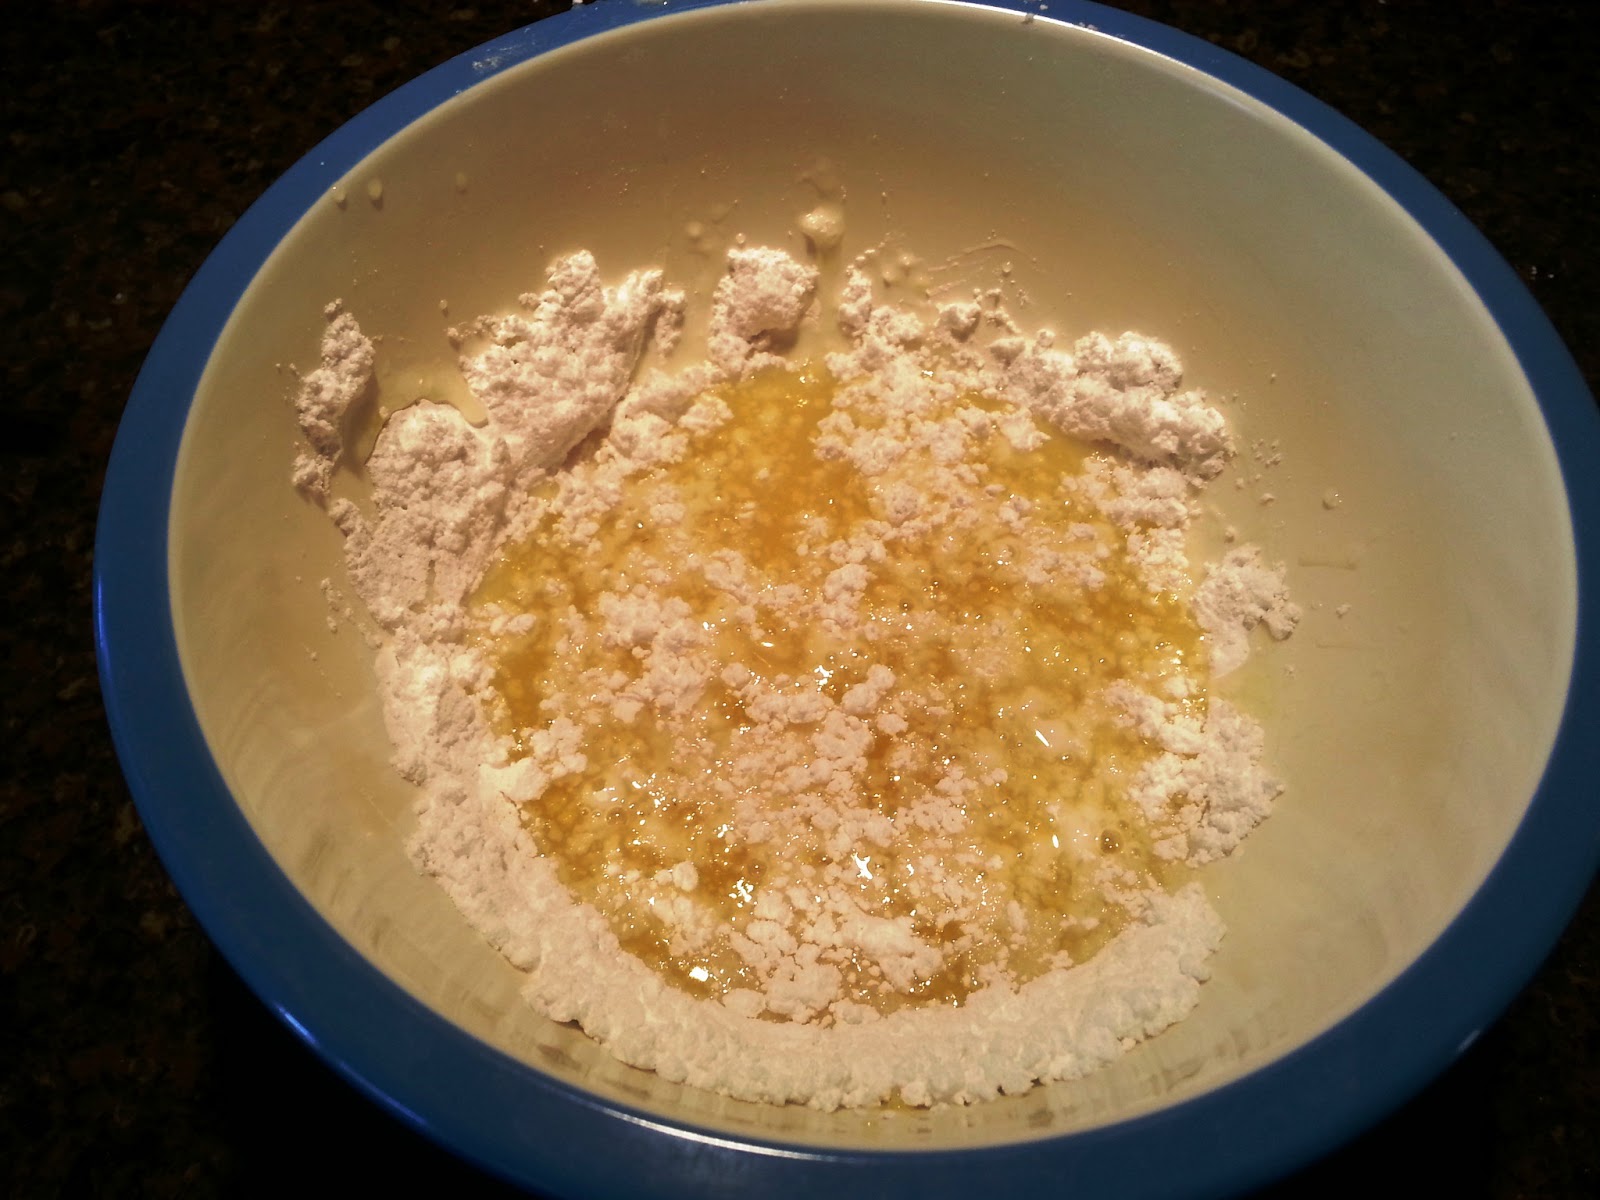
Mix the flour, sugar, salt, and softened butter until combined.

In a separate bowl, whisk together the eggs, lemon zest, and lemon juice until combined.


Pour egg and lemon mixture into the flour mixture and beat at medium speed until smooth and creamy and pour into baking dish. (Sorry, my mixing bowl photo was out of focus so I jumped us right to oven ready baking dish.)
Bake 23-25 minutes, or until a toothpick inserted into the center of the brownies comes out clean. I cooked mine exactly 23 minutes.(See my toothpick holes?) Cool completely.

Now, it's time to make the glaze. Sift powdered sugar, add lemon zest and juice, and whisk together.


Spread 1/2 the glaze over the brownies with a rubber spatula. Let glaze set. Spread the remaining glaze over the bars, and let it set.

Cut and serve.


Lemon Brownies
(recipe from BeckyCharms, original recipe from Rita May's Recipes)
  • 3/4 c all-purpose flour
  • 3/4 c granulated sugar
  • 1/4 t. salt
  • 1/2 c (1 stick) unsalted butter, softened
  • 2 large eggs
  • 2 T lemon zest
  • 2 t lemon juice
  Tart Lemon Glaze
  • 1 rounded cup powdered sugar
  • 4 T lemon juice
  • 8 t lemon zest
Preheat oven to 350°F. Spray an 8-by-8-inch baking dish with butter/cooking spray and set aside.

Zest and juice two lemons; set aside.

In the bowl of an electric mixer fitted with the paddle attachment, beat the flour, sugar, salt, and softened butter until combined.
In a separate bowl, whisk together the eggs, lemon zest, and lemon juice until combined. Pour into the flour mixture and beat at medium speed until smooth and creamy, about 2 minutes.

Pour into baking dish and bake for 23-25 minutes, or until just starting to turn golden around the edges and a toothpick inserted into the center of the brownies comes out clean. Allow to cool completely before glazing. Do not overbake, or the bars will be dry.

When brownies are cooled completely, make the glaze...sift the powdered sugar, add lemon zest and juice, and whisk together all three ingredients. Spread 1/2 the glaze over the brownies with a rubber spatula. Let glaze set. Spread the remaining glaze over the bars, and let it set. This glaze does not harden like most. Cut into bars, and serve!