Showing posts with label Dessert. Show all posts

Monday, May 4, 2020

Black Mirror Candy (Black Sesame Seed Brittle)


Mirror, Mirror on the wall...can you believe no food coloring was used at all? 

The beautiful black color was created entirely from black sesame seeds. All those little gems make a striking piece of candy, don't you think? The color so dark and pure that you cannot see through it. The real beauty is when it's cracked and all the layers of creamy, nutty deliciousness are revealed!


Mirror, Mirror on the wall...who's the fairest of them all?

Beautiful on the outside with deliciously complex flavors in the inside, is a perfect metaphor for the way we should see ourselves. Our inner most desires, experiences, and feelings create a complex landscape that shapes who we are, and our personality. But often we spend a lot of time tending to how we look, and how we are perceived on the outside. And often we work hard to protect the delicate centers of ourselves from revealing the things that are painful or make us feel insecure. 
So how about we use this brittle as inspiration to help us to no longer hide all those fears, feelings and experiences. Let's silence those inner voices that whisper uncertainty that wear down our confidence, by letting them break free and speak to our beauty, not just the familiar reflection in the mirror, but that beautifully flawed and gorgeously unique inner self. Let's go crack some mirrors! 
                                   đź’€180 days until Halloweenđź’€


Black Mirror Candy (Black Sesame Seed Brittle)

Makes ~1 pound candy

3/4 cup sugar
1/2 cup corn syrup
1/2 cup water
1 cup black sesame seeds

Needed equipment: candy thermometer


Measure out all ingredients and prepare cookie sheet(s) with parchment paper before beginning. 

Add sugar, corn syrup, and water to a small saucepan with a candy thermometer and cook over medium heat. Stir occasionally and heat until the sugar mixture reaches 305-310 degrees on a candy thermometer. This is the hard crack stage. If you do not have a candy thermometer, heat until a small amount of mixture dropped into very cold water separates into hard brittle threads. 

Once the sugar mixture has reached 305-310 degrees, turn off the heat and immediately pour the sesame seeds into the sugar mixture. Quickly stir to incorporate. (I wasn't able to get a picture of this step because the candy sets up very fast) Immediately pour out the sesame seed brittle onto your parchment lined cookie sheet(s). Note: I used two parchment lined cookie sheets and poured half of the sugar mixture into two ovals to mimic my broken mirror frames, but you can pour it all onto one cookie sheet.

Work quickly as the candy will immediately begin to harden but try to spread the candy mixture to about 1/4 inch thickness, with a silicone spatula. If it's too firm to spread with a spatula, place another piece of parchment paper over the hot candy and use a rolling pin to roll it out to a 1/4 inch thickness. After rolling it to desired thickness, leave the parchment in place until the candy is cooled enough that it releases easily. 

The surface of the candy will be dulled a bit after using the rolling pin and parchment paper. To polish the surface of your candy after removing the parchment paper, raise an oven rack to second highest setting and turn on the broiler and let the oven heat up for about 5 minutes. 
Once the oven is hot, transfer the cookie sheet with your dulled candy under the broiler. Leave the oven door open and watch the surface of the candy until it turns shiny, moving the cookie sheet to evenly heat the surface until it's glossy. This process only takes about 1 minute total so DO NOT close the oven door and Do NOt stop watching your candy at any point while under the broiler. Once glossy, remove immediately and let cool. 
Once completely cooled, break up the brittle and serve or store in an air tight container until ready to serve. 

More Halloween candy recipes to try:
Candy Corn Peppermint Patties
Pumpkin Spice Marshmallows
Skull and Cross Bones Cookies

Wednesday, March 18, 2020

'Let Nature Run Its Corpse' Cakes

Halloween Cupcakes

After missing all of last year's "Summer of Halloween" because of a health issue, I'm starting extra early this year on my Halloween recipes and decorating ideas.  I realize it's only March, but some of my Halloween ideas have been inspired by other holidays. For instance, my Haunted Hamlet was inspired by Mini Christmas Villages, my Halloween Topiaries were created by transforming Christmas Angels, and My Bloody Valentine Cake inspired by... of course Valentine's day.  These festive cupcakes that I like to call, Let Nature Run Its Corpse Cakes were inspired by all the mossy Spring/Easter pins all over Pinterest right now. Seeing all the bunnies and eggs cushioned in baskets of moss, I took it another direction all together...instead I went with aged skull and crossbones put to rest in shallow mossy graves. ☠ I think they're absolutely perfect for Halloween, don't you? 
Halloween cupcakes

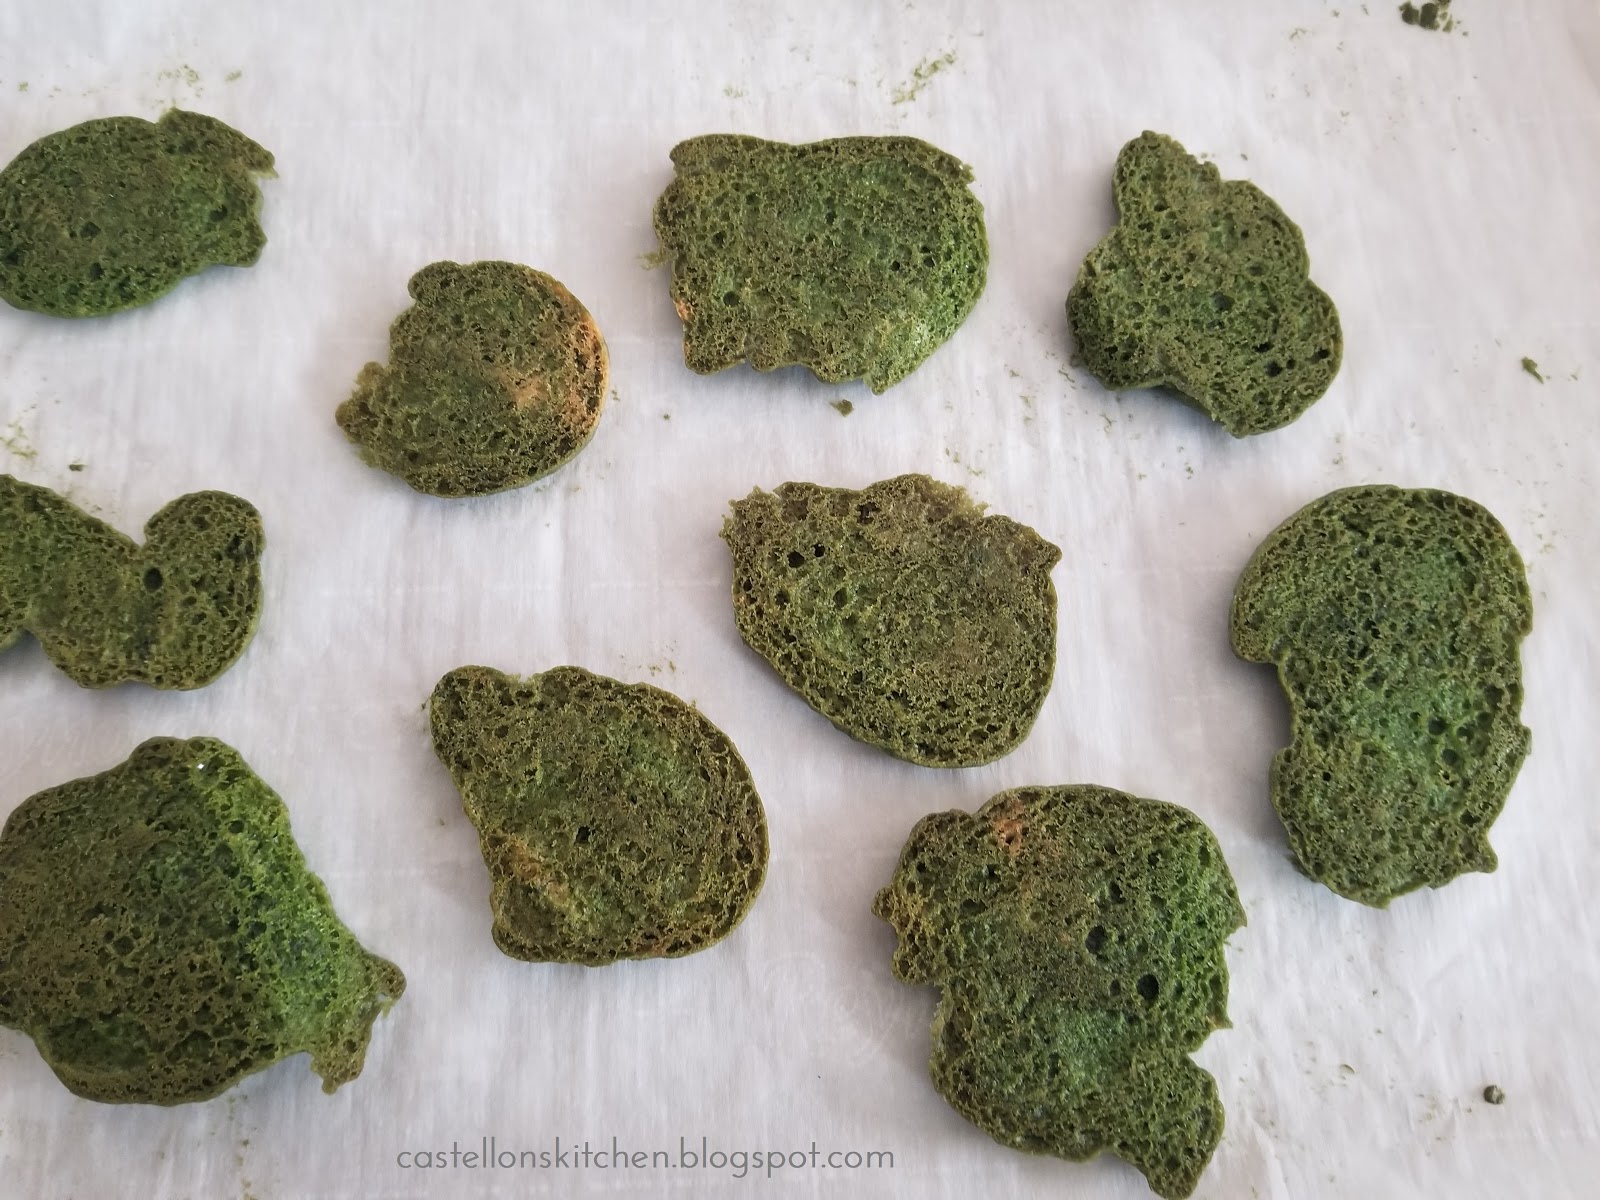
The faux moss looks so realistic that it's hard to believe that these cupcakes are edible. Creating the faux moss-look was super simple. I added a few drops of moss colored food coloring to ready made sugar cookie dough and baked as usual. Crumble half of the cookies and sprinkle the underside of the whole cookies with the cookie crumbs to give you faux moss covered cookies. I topped them with aged white chocolate skulls and crossbones that I made with mini molds purchased from Etsy. I've included the links below.  

These little gems are the perfect recipe to kick off my Organic Halloween theme this year. All my Halloween food and decorating ideas will center around all things green, black with natural organic elements like moss and ferns, twigs and wood. It's going to be so much fun...Stay tuned for more Halloween ideas coming all spring and summer long. 

Let Nature Run Its Corpse Cakes 

Makes 24 cupcakes

Make ahead:
Chocolate Skull and Bones
1 package melting white chocolate 
1/2 t. cocoa powder 
1 T vodka
Mini Skull mold by StaceyDecor 
Mini Bone mold by Moldcreationsnmore 

Melt chocolate according to package directions and transfer into a piping bag or a plastic ziplock bag with the corner cut off.  Pipe melted chocolate into molds and tap the bottom of the molds on counter to settle chocolate and remove air bubbles and empty space.  Place filled molds in the refrigerator and let set for 15 minutes or longer as needed. Remove skull and bones from the molds and set aside. Don't worry if the small crossbones break, they can still be used with the skulls. Repeat until you have 24 skulls and 48 bones.
Aging bonesIn a small bowl, add 1 tsp. cocoa and 1T vodka and mix until combined. Use a paint brush to paint the chocolate skulls and bones with the cocoa vodka mixture to age the bones. The vodka will evaporate and leave the cocoa behind creating an aged look of the bones. Set aside until ready to use. 


Mossy Cupcakes 
1 box chocolate cake mix
1 can prepared vanilla frosting
1 tube prepared sugar cookie dough, room temperature
moss green gel food coloring
black cupcake liners

Cupcakes: Prepare cupcakes according to package directions. Cool completely.
Frosting: Combine ~1/4 tsp. of moss green gel food coloring to vanilla frosting and mix well. Set aside.
Cookies: Place prepared cookie dough in a medium bowl and add about 1/2 tsp. moss green gel food coloring and mix until well combined. 


Scoop about 1 tsp of cookie dough onto a parchment lined cookie sheet. Use a fork or a butter knife to press dough flat into irregular shapes. 


Bake for 10 minutes at 350 degrees. Cookies will have slightly brown bottom which is what you want to add depth of color to your mossy cookies.  Cool cookies and set aside 30 small cookies to top your cupcakes with. Crumble the remaining cookies or the larger cookies into a medium bowl and set aside. This will be used to top your cupcake frosting and to add mossy texture to the sugar cookie topper. 

Assemble: Frost cupcakes and dip frosting side down into crumbled cookies to create the mossy top of the cupcake. Next, lightly frost the bottom side of a sugar cookie. Now place a small dollop of frosting on the other side of the cookie to act as a glue to hold the cookie to the top of the cupcake. Now sprinkle crumbs over the slightly frosted cookie bottom to complete the mossy look. 


Garnish: Top with skull and crossbones secure with a small dab of frosting. 

More Halloween Dessert Ideas:

Jack-o-lantern Cupcakes
Bad Moon Rising Cheesecake
My Bloody Valentine
Haunted House Cake Topper

Tuesday, January 7, 2020

Apple Cinnamon Donut Cakes


Happy New Year! It's a new year and another opportunity to make a fresh start. I don't usually make resolutions, rather I use the new year to set some intentions and put together my to do list for the year. Number one on my list this year will be to dive back into blogging. I took a little bit of a break from blogging in 2019 as you might have noticed. I spent the year reassessing, refocusing and recovering from 3 surgeries after an abnormal mammogram last May. I'm all recovered and ready to jump back into my creative space of food and fun Halloween ideas and projects. But before I get ahead of myself and dive right into Halloween, I have a 'better late than never' recipe to share. I made them before Christmas and never got around to posting them. So these Apple Cinnamon Donut Cakes are my first post of 2020. A delicious cinnamon sugar coated, 3 bite morsel of apple cinnamon cake! Make a batch. Invite your girlfriends over for coffee, cake and conversation to kick off the new year! Enjoy!

Apple Cinnamon Donut Cakes

Makes ~2 dozen

3 cups all purpose flour
1 1/2 t. baking powder
1/2 t. baking soda
1 T. cinnamon
1 t. nutmeg
1/4 t. cardamom
1 t. salt
1 cup brown sugar, packed
1/2 cup granulated sugar
1 cup apple cider
1 cup applesauce
3/4 cup olive oil or canola oil
3 t. vanilla extract
3 eggs
1/2 cup butter melted
1 cup granulated sugar
2 t. cinnamon
1/2 t. nutmeg

Preheat oven to 350 degrees

In a large bowl, combine flour, baking powder, baking soda, cinnamon, nutmeg, cardamom, and salt. Set aside. 
In a medium bowl, combine sugars, apple cider, applesauce, olive oil, vanilla extract, and eggs and whisk until mixed. Combine wet and dry ingredients and whisk until incorporated. Spray mini bundt cake pan with baking spray. Using a medium cookie scoop, fill mini bundt cakes half full, taking care not to overfill. Bake at 350 degrees for about 10-12 minutes. Let cool 10 minutes and then turn out of pan. Cool completely on a wire rack.  
Prepare cinnamon sugar. Combine sugar, cinnamon and nutmeg in a small bowl and mix. In a small bowl, melt butter in the microwave. 
Brush donut cakes with melted butter and then roll them in cinnamon sugar until completely coated. Serve. Store covered at room temperature for up to 2 days.
Other dessert recipes to try:

Red Velvet Brownies with Cookie Crumble Frosting
Gingerbread Spritz Cookies
Gingerbread Petits Fours with Cinnamon Buttercream

Wednesday, November 20, 2019

Blood Orange Upside-Down Cake


Is it too early for citrus season? I know apples, root vegetables, and squash are front and center all fall long, but I just couldn't wait any longer to share this delicious Blood Orange Upside-Down Cake. All the bright citrus sweetness of oranges, hints of cinnamon and a sweet dense orange cake soaked with a blood orange simple syrup and the juice from the baked fruit. Utterly delicious and oh so comforting to get you through the cold winter...fall months. It's perfect right out of the oven with a scoop of vanilla ice cream or all by itself with a cup of coffee.  
Note: Blood orange season is pretty short and not every grocery store will carry them. Not to worry if you can't find blood oranges, you can substitute with regular or Mardarin oranges. But, if you are lucky enough to find blood oranges in the market, grab a few bags. Use the first bag to make this cake and the second bag to freeze the zest and juice so you can use the zest and juice well beyond the cold winter months. Enjoy!

Blood Orange Upside Down Cake

Simple Syrup
1 cup blood orange juice
2-3 cinnamon sticks
1 cup sugar

Place blood orange juice and cinnamon sticks in a small saucepan and heat until reduced by half. Add sugar  and heat on low until sugar is completely dissolved and thickened about 4-5 minutes. Let cool and reserve cinnamon sticks. Strain syrup in a fine mesh strainer to remove fruit pulp. Return cinnamon sticks to strained syrup and set aside. (Photo note: I added star anise the first time I made this, but preferred not to include it in the next few attempts, unfortunately I did not take new pics without the star anise)

Cake Batter
3/4 cup butter
1 cup sugar
3 eggs
1 t. vanilla extract
3 t milk
zest of 3 oranges
1 1/4 cup all purpose flour
1 1/2 t. baking powder
1/2 t. salt
6-8 small blood oranges, peeled and sliced into 1/4 inch slices

Preheat oven to 350 degrees.


Prepare simple syrup as directed above. 

Cream butter and sugar until fluffy. Add eggs one at a time. Add vanilla extract and milk and beat until incorporated.  Add orange zest. Add flour, baking powder and salt and set aside.

Spray a 8" cake pan with cooking spray and then line the bottom of the pan with an 8" parchment paper circle, taking care to smooth out the parchment to remove all bubbles underneath the parchment. 

Add blood orange syrup and cinnamon sticks to the parchment lined cake pan. Next, layer blood orange slices over the syrup and cinnamon sticks. 

Then, pour cake batter over the orange slices and smooth over the top with a rubber spatula to level the batter. The batter will be thick.

Bake at 350 degrees for 40 minutes. At 20 minutes, place a piece of foil sprayed with cooking spray over the top of the cake, to prevent over browning. Let bake the remaining 20 minutes. Remove from oven and let cool for about 10-15 minutes. 
Run a knife around the edge of the pan and then place a serving plate over the cake pan. Flip the pan and plate over together to remove the upside down cake from the cake pan.  Serve warm with a side of ice cream or all by itself. Enjoy!

Other dessert recipes to try:

Orange Cornmeal Cake

Pumpkin Pie Cupcakes
Rustic Apple Torta
Gingerbread Petits Fours with Cinnamon Buttercream